How to Create an FBA Shipment in Amazon Seller Central (Step-by-Step) in Correct Way
June 27, 2025 FBA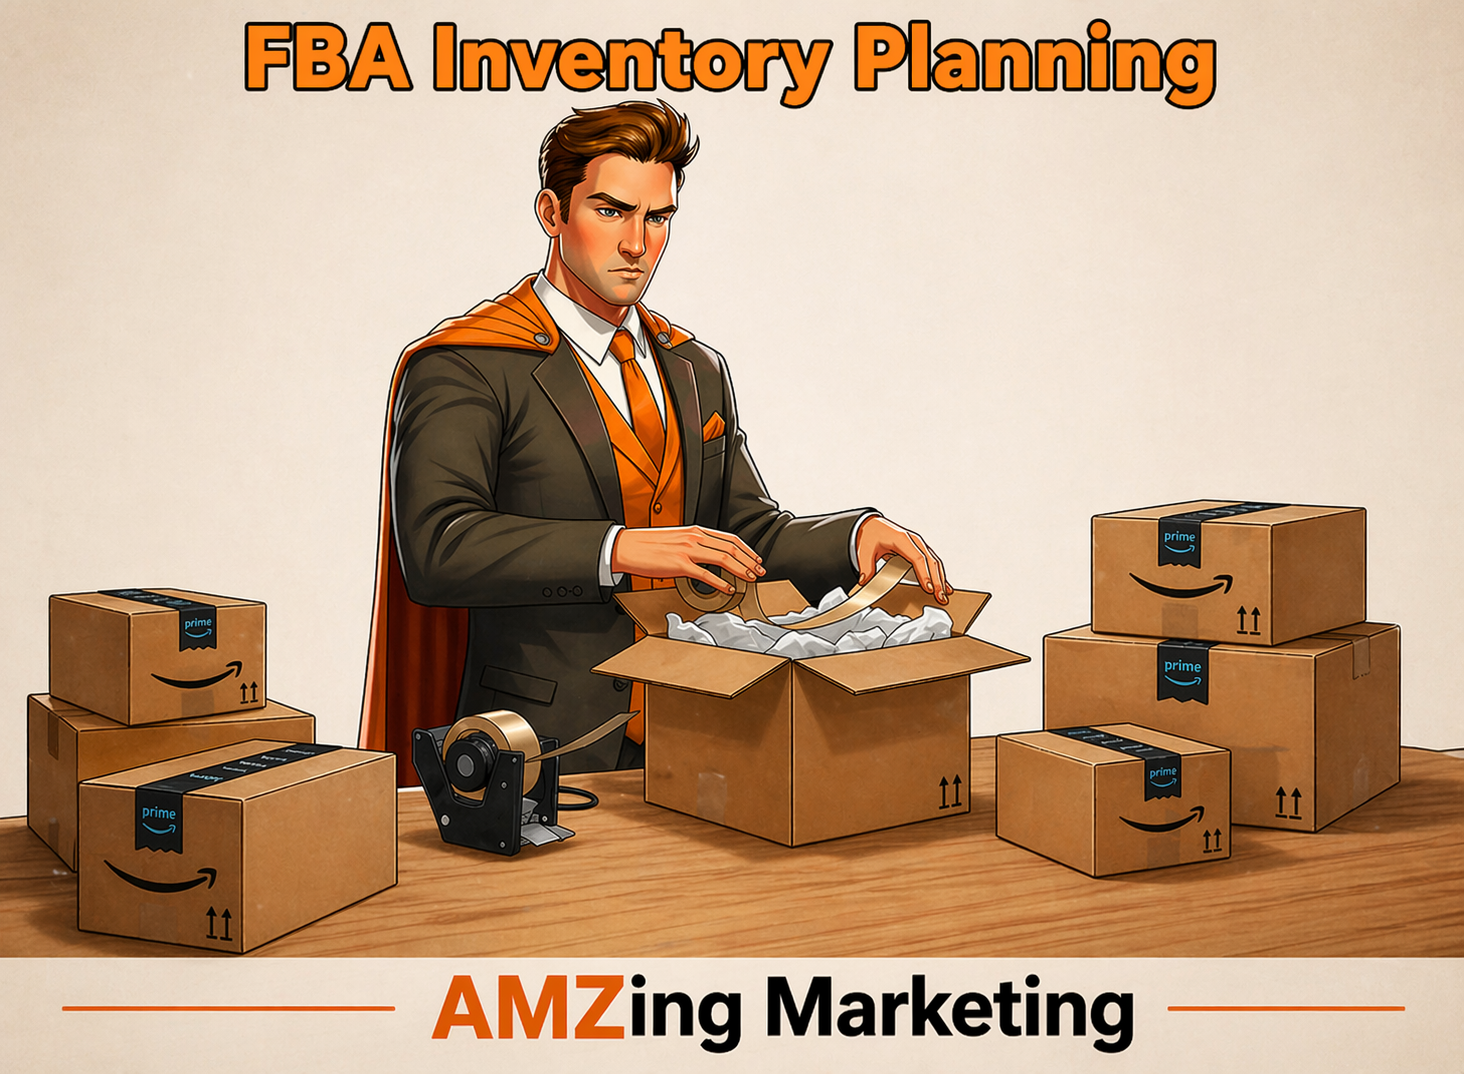
--> Get a FREE Growth Audit of your Amazon Store
Comprehensive FBA Tutorial by AMZing Marketing Agency
AMZing Marketing Agency (Located in Vancouver) has been helping over 20 Different large sized Amazon Sellers to succeed with selling on Amazon Market place.
One of the common mistakes that many Sellers make is NOT having the right FBA inventory planning in place and NOT giving the a descriptive FBA Shipments name. This will cause lots of wasted hours spent by your logistic team.
Here is the problem after you have created multiple FBA Shipments. When you go the FBA overview page and look at the the FBA names.
The FBA name doesn't tell you what product you have shipped.

To find what product has been shipped in this FBA Shipment you have to click on each shipment link and go to the details page.
Why is this such a time wasting process?
When you have ten or even hundreds of different shipments this you and your marketing team have to spend several hours to find what product has been shipped. This is important for FBA inventory planning.
I am sure those several hours can be better spend on optimizing the advertising and fine tuning the product listing to get more sales.
So, is there a way reduce those several hours into just few minutes?
Yes, there is!
Follow this tutorial and avoid costly mistakes and wasted time
Go Straight to STEP 10 if you already know to create FBA Shipments
✅ Step 1: Log in to Amazon Seller Central
-
Go to https://sellercentral.amazon.com
-
Log in using your Amazon Seller credentials.
✅ Step 2: Go to Your Inventory
-
Hover over “Inventory” in the top menu.
-
Click “Manage All Inventory”.
-
Locate the product(s) you want to send to Amazon FBA.
✅ Step 3: Convert Products to FBA (if not already FBA)
If your products are listed as Fulfilled by Merchant (FBM), you must convert them to FBA:
-
Find the listing.
-
Click the drop-down menu next to "Edit".
-
Choose “Change to Fulfilled by Amazon”.
-
Follow the on-screen steps to convert to FBA.
✅ Step 4: Create a New Shipment Plan (give the RIGHT NAME)
-
Select the checkbox next to the product(s) you want to ship.
-
Click the "Action on selected" drop-down.
-
Choose “Send/Replenish Inventory”.
✅ Step 5: Set Up Your Shipment Plan
Step A: Ship From Address
-
Choose the address you're shipping from (your business or warehouse).
Step B: Packaging Type
-
Individual products – If products are packaged separately.
-
Case-packed products – If all units in a box are the same SKU.
Click Continue to shipping plan.
✅ Step 6: Enter Product and Prep Details
-
Confirm the number of units for each SKU.
-
Choose who preps the products: You or Amazon.
-
If your products require prep (e.g., bubble wrap, poly bags), Amazon will suggest it.
-
Review any labeling requirements:
-
If labeling is needed, choose whether you or Amazon will label (for a fee).
Click Continue.
✅ Step 7: Review Ship-To Destinations
Amazon may split your shipment between different fulfillment centers. You’ll see:
-
Destination warehouse(s)
-
Quantity per location
Click Approve & Continue.
✅ Step 8: Prepare and Label Your Shipment
-
Print FBA/SKU Bar Codes :
-
Download and print FNSKU labels (unless Amazon is labeling) on a sticker
Attach the sticker with the SKU Barcode to each of your product according to guidelines.
2. Box Content Info:
- Choose whether you will provide box content information or not.
-
If you do, enter the number of units per box.
Click Confirm when done.
✅ Step 9: Set Carrier and Shipment Details
-
Shipping Method:
-
Choose Small Parcel Delivery (SPD) or Less Than Truckload (LTL).
-
Carrier:
-
For SPD, choose Amazon Partnered Carrier (like UPS) for discounted rates.
-
Enter box dimensions and weight.
✅ Step 10: MOST IMPORTANT STEP: RENAME Shipment NAME
This is where most Amazon Sellers make the mistake. They don't put the right information in the shipment name. This shipment name is auto generate by Amazon and does NOT include the product name and how many will be shipped.
So when the inventory manager of your company looks into the shipment he/she has NO clue what has been ship and it will take a lot of time to find out.
To SAVE you time and help your organize the shipments in an efficient way you need the add the following information in the shipment label:
- Your SKU
- Your product name
- How many units will be shipped to Amazon FBA
-
Click on the RENAME


✅ Step 11: Print Box Labels
-
Amazon will generate box labels with destination and tracking barcodes.
-
Print and attach one label per box (on a flat surface).
Click Complete Shipment when ready.
✅ Step 12: Ship Your Boxes
-
Drop off your boxes at the carrier (e.g., UPS) or schedule a pickup.
-
Monitor your shipment in “Shipping Queue” under Inventory > Manage FBA Shipments.
Congratulation 🎉 You’ve Created an FBA Shipment!
Tips:
-
Always follow Amazon’s packaging and labeling guidelines to avoid delays.
-
Send in shipments early if preparing for peak seasons.
-
Double-check quantities, box weights, and labels to prevent rejections.
But Don't Forget to Add the tracking number in the FBA Shipment
- See the screenshot below

Would you like a printable PDF version?
Or do you need help with Increase Sales on Amazon?
Click Here to Contact AMZing Marketing and
Book a FREE 30 Minutes Consultation Call
Find out what is stopping your Amazon sales from growing.
Meet Our Amazon Experts
AMZing Marketing Agency (Canada) helps Amazon sellers improve listings, PPC campaigns, SEO ranking, fix listing issues, and sales growth.
✓ 2,900+ Sales Generating Product Listings Created
✓ 5,700+ Advertising Campaigns Optimized
✓ Helping Amazon Sellers Since 2013
Schedule a Free ConsultationWhy Amazon Sellers Choose AMZing
✓ Amazon SEO & Listing Optimization
✓ Amazon PPC Advertising Management
✓ Account Health & Compliance Support
✓ FBA Planning & Marketplace Growth Strategy
Contact AMZing MarketingPopular Amazon Seller Resources
- Amazon AWD Explained: The Ultimate Guide to Replenishing FBA Inventory (Avoid Costly Mistakes & Scale Faster in 2026
- How to move AWD inventory to FBA and Fix Errors Auto-Replenishments to FBA
- Ultimate Guide To Selling Supplements On Amazon -> What NOT to Do
- Case Study: Diamond Jewelry Store
- Why Allowing Third-Party Sellers on Your Amazon Product Listings Can Damage Your Brand
- Amazon Sales Dropped After Restock? Why You Need Aggressive PPC Relaunch To Restores Sales Velocity Fast
- Amazon Listing Hijacking Between Manufacturers and Resellers: Why It Happens and How to Solve It
- Amazon Product Listing Got Hijacked? Lost Buy Box and Sales, How To Recover It